
Blog
Room By Room Spring Cleaning Checklist for a Whole-Home Reset
A room by room spring cleaning checklist helps Charleston-area households reset the spaces that collect dust and grime while keeping routine chores from swallowing the day. Work from high to low and clean one room at a time: start with ceilings, fixtures, and window treatments; finish with surfaces, baseboards, and floors. Use the checklist below to cover the whole home, then choose what to do yourself and what to hand off.
Plan the work before you start
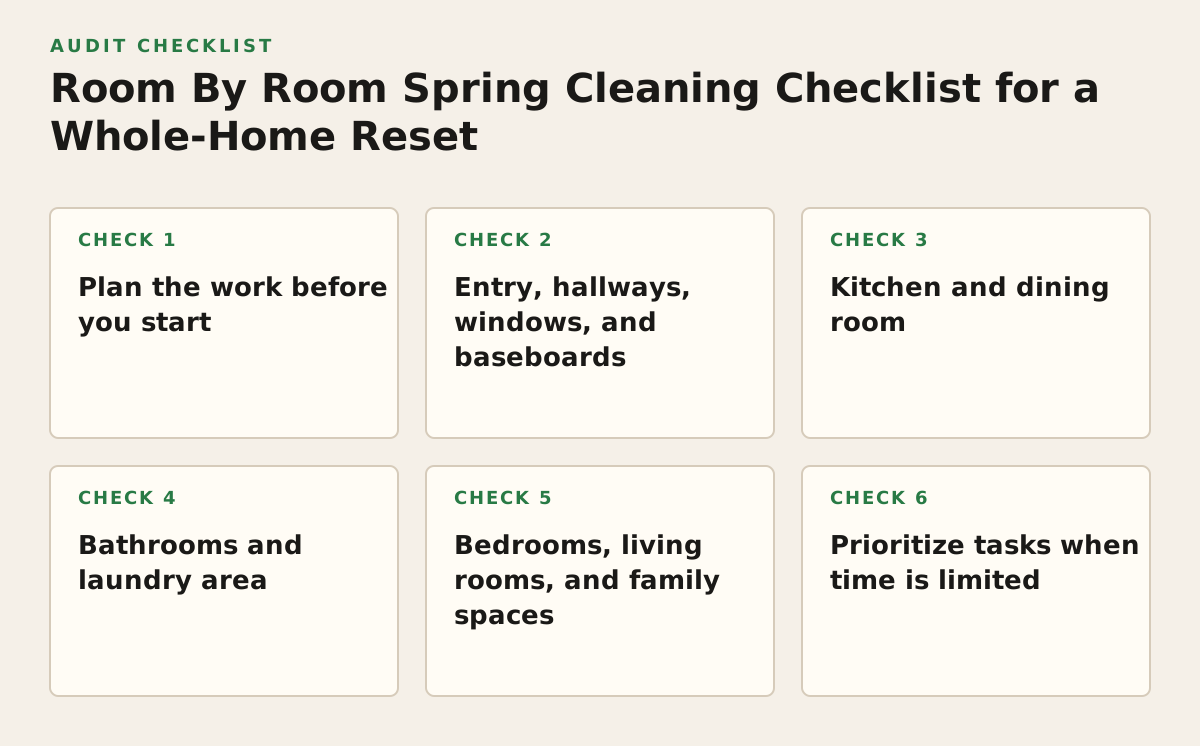
This approach is useful when you have a busy household, a move coming up, or a recurring cleaning visit to coordinate. A short plan prevents a common time sink: cleaning the same surface twice because clutter, dust, and floor work were tackled in the wrong order. It also helps you set a realistic scope; spring cleaning can be a focused reset rather than an attempt to repair or reorganize every room.
Set a scope and a sequence
- Choose the rooms: Include every regularly used space, plus any area that has been skipped in routine cleaning.
- Gather supplies: Set out cloths, a vacuum, a mop, and the products needed for the surfaces you actually have. Check care instructions for finishes and fabrics.
- Work top to bottom: Dust high fixtures and window coverings before furniture and floors. Complete one room before moving supplies to the next.
- Separate cleaning from repairs: Note loose hardware, leaks, damaged screens, and other maintenance instead of trying to fix them mid-clean.
Safety belongs in the plan, not in every room’s task list. Follow product labels, ventilate as directed, and never mix cleaning products. Poison Control warns that mixing bleach with other cleaners can release dangerous gases; its cleaning-product guidance is a useful reference before combining products or trying a new one (Poison Control: Cleaning Products). For routine cleaning, the CDC distinguishes cleaning from disinfecting and advises following product directions when disinfection is needed (CDC: About Cleaning and Disinfecting).
Example: A household preparing for a spring gathering might prioritize the kitchen, dining area, guest bathroom, and living room first, then schedule bedrooms for another day. The plan fails if “whole home” means pulling every item out of every closet before any room gets finished; keep decluttering and deep cleaning as separate jobs.
Entry, hallways, windows, and baseboards
Start here when pollen, tracked-in dirt, or winter dust is visible near doors and windows. These transition areas get overlooked because they are small, but they connect the rooms and can spread grit back onto clean floors. Cleaning them early also makes a noticeable difference without requiring you to empty a whole room.
- Shake out or vacuum entry mats, then clean the floor beneath them.
- Wipe the inside of the front door, doorframe, handles, light switches, and reachable trim.
- Dust window frames and sills; clean glass with a method appropriate to the window finish.
- Wash or vacuum curtains, drapes, and fabric shades according to their care labels. Dust blinds with a suitable cloth or attachment.
- Vacuum baseboards with a brush attachment or wipe them with a damp cloth if the finish allows. Check corners for cobwebs.
- Clean stair treads and handrails, working carefully and keeping the walking path clear.
Window treatments need a care check before a wash. Some can be laundered; others may require vacuuming or spot cleaning. Treating every fabric the same can cause shrinkage or damage, so check the label or manufacturer’s instructions first. For example, vacuum a set of labeled dry-clean-only drapes rather than putting them in a washing machine.
Baseboards are easiest after upper dusting. If you wipe them first, falling dust from window frames and trim can undo the work. Do the high dusting, then baseboards, then the floor.
Kitchen and dining room
Use this section when grease, crumbs, or fingerprints have built up beyond what routine wiping catches. The kitchen benefits from a focused top-to-bottom clean because crumbs and dust fall onto counters and floors as you work. In a dining room, the main targets are often chair rungs, table legs, and the floor under the table.
Kitchen tasks
- Remove items from counters and wipe the counter surface, backsplash, and reachable cabinet fronts.
- Clean the range hood exterior and the area around the cooktop; follow appliance instructions for removable parts.
- Empty the refrigerator a shelf at a time, discard spoiled food, and wipe the interior with a product suitable for food-contact surfaces.
- Wipe the microwave inside and out, then clean small-appliance exteriors and frequently touched handles.
- Clean the sink and faucet, including the area where the faucet meets the counter.
- Vacuum or sweep under movable items you can shift safely, then mop the floor.
Dining room tasks
- Dust the table, chairs, light fixture if safely reachable, and any sideboard or display shelves.
- Wipe chair seats and legs according to their material; check the floor under and around the table.
- Clean fingerprints from doors, cabinet fronts, and other high-touch surfaces.
Do not turn a cleaning day into an appliance repair project. If a refrigerator seal is torn or an appliance appears damaged, note it for follow-up rather than dismantling parts. A practical example is to clean the accessible exterior and shelves, then record a sticky drawer track for a separate maintenance task.
Bathrooms and laundry area
These rooms call for extra attention to moisture, soap residue, and frequently touched surfaces. Clean the bathroom from the least soiled surfaces toward the toilet, using separate cloths where appropriate. In the laundry area, clear lint and dust from accessible surfaces without opening equipment or reaching into unsafe spaces.
- Remove items from the vanity and wipe the counter, sink, faucet, cabinet fronts, and mirror.
- Clean the shower or tub, including visible soap residue on fixtures and ledges. Use a product compatible with the surface.
- Wipe accessible tile, trim, and the outside of the toilet; clean the toilet bowl with the designated tool.
- Wash or replace bath mats and towels, and clean the floor around the toilet and vanity.
- In the laundry area, wipe the washer and dryer exteriors, shelves, and reachable lint or dust. Clean the lint screen according to the appliance instructions.
Look for moisture, not just visible dirt. If you see recurring dampness, a leak, or a musty area, cleaning alone will not address the source. The EPA’s mold and moisture guide emphasizes fixing moisture problems and drying wet materials promptly; use it to distinguish a routine wipe-down from an issue needing maintenance (EPA: A Brief Guide to Mold, Moisture and Your Home).
For example, wipe condensation from a window sill and note whether it returns, rather than repeatedly scrubbing a damp patch without checking why it stays wet. Avoid using a ladder or stretching over a tub to reach a high fixture; leave unsafe access for someone with the proper equipment.
Bedrooms, living rooms, and family spaces
These rooms often combine upholstered furniture, electronics, bedding, and open shelves, so a single pass with a duster misses plenty. Work from the top of the room down, moving small objects only when you can return them to their place. This is also a good time to wash bedding and refresh the area beneath furniture that can be moved safely.
- Dust ceiling fan blades and reachable light fixtures with the power off; clean vents and ledges that collect dust.
- Wash bedding, including mattress protectors and washable covers, following their care labels. Vacuum the mattress if its manufacturer permits it.
- Vacuum upholstered furniture and under cushions; use a fabric-appropriate method for spots.
- Dust shelves, lamps, picture frames, and electronics with suitable tools; avoid applying liquid directly to electronics.
- Wipe reachable door handles, switches, and furniture surfaces, then vacuum rugs and floors.
- In a home office, dust the desk, chair, shelves, and monitor exterior; organize cords without unplugging critical equipment unexpectedly.
Do not lift heavy furniture alone just to reach hidden dust. Clean accessible edges and under pieces that move safely; make a note to arrange help for heavier items. A workable example is to vacuum beneath a lightweight side table, then use a crevice tool around the sofa rather than dragging it across the floor.
Prioritize tasks when time is limited
If you cannot complete every item in one session, use impact, buildup, and access to decide what comes first. The table is a reusable starting framework, not a universal score: adjust it for your home, allergies, pets, visitors, or a move-out deadline. A task that addresses a spill or moisture source should take priority over cosmetic dusting.
| Priority | Choose it when… | Examples | Defer when… |
|---|---|---|---|
| 1. Health or damage concern | There is a spill, persistent moisture, or a visibly soiled high-touch surface. | Address the source of a leak; clean a soiled bathroom surface. | The issue needs repair, specialist help, or unsafe access. |
| 2. Daily-use buildup | A space is used constantly and has visible grime or dust. | Kitchen counters, sink, bathroom vanity, entry floor. | The task requires moving heavy items or disassembling equipment. |
| 3. Seasonal detail | Routine cleaning has not reached the item for a while. | Window treatments, baseboards, under cushions, cabinet fronts. | Care instructions are unclear; check them before cleaning. |
| 4. Optional organizing | Cleaning is done and there is still time to sort belongings. | Declutter a shelf or donate unused linens. | Sorting would block completion of the essential room clean. |
Use a stopping rule. For an illustrative starting policy, choose three must-do tasks per room and move optional organizing to a separate day. That keeps the checklist useful for a family fitting chores around work, or for a renter who needs to focus on visible condition before a move-out clean.
Turn the checklist into a workable cleaning plan
Use this sequence when you want the checklist to lead to finished rooms rather than a house full of half-done projects. It works for a one-time reset and can also help define which tasks belong in regular upkeep versus an occasional deeper visit.
- Walk the home and mark priorities. Identify rooms, visible buildup, special surfaces, and any maintenance concerns. Decide what can wait.
- Prepare safely. Gather suitable supplies, read product labels, and clear walkways. Avoid combining products or taking on tasks that require unsafe reaching.
- Clean room by room, high to low. Include window treatments, baseboards, and shared spaces—not only bedrooms and bathrooms.
- Finish with floors and a quick check. Look for missed edges, under-table crumbs, and items that need to be returned to their places.
- Separate recurring upkeep from deep-clean tasks. Put routine surfaces on a repeat schedule; keep less frequent details such as cabinet fronts and window treatments on a seasonal list.
- Decide whether to outsource the remainder. If a move, work schedule, or property turnover makes the scope hard to finish, compare the tasks you need with the service you book.
For Charleston households that want recurring help maintaining a clean home, BeeLux offers house cleaning in Charleston. For a one-time seasonal reset or a more detailed visit, review deep cleaning in Charleston; you can also see service options and request pricing through BeeLux Cleaning.
Authored with NotFair SEO