
Blog
Living Room Deep Cleaning Checklist: A Practical Room-by-Room Guide
A living room deep cleaning checklist should cover more than the visible floor: plan for dust above eye level, upholstery and rug care, hard-to-reach edges, and touchpoints such as switches and remote controls. Use this guide to choose the right tasks for your room, work without spreading dust onto finished surfaces, and decide when a stain, odor, or moisture problem needs more than routine cleaning.
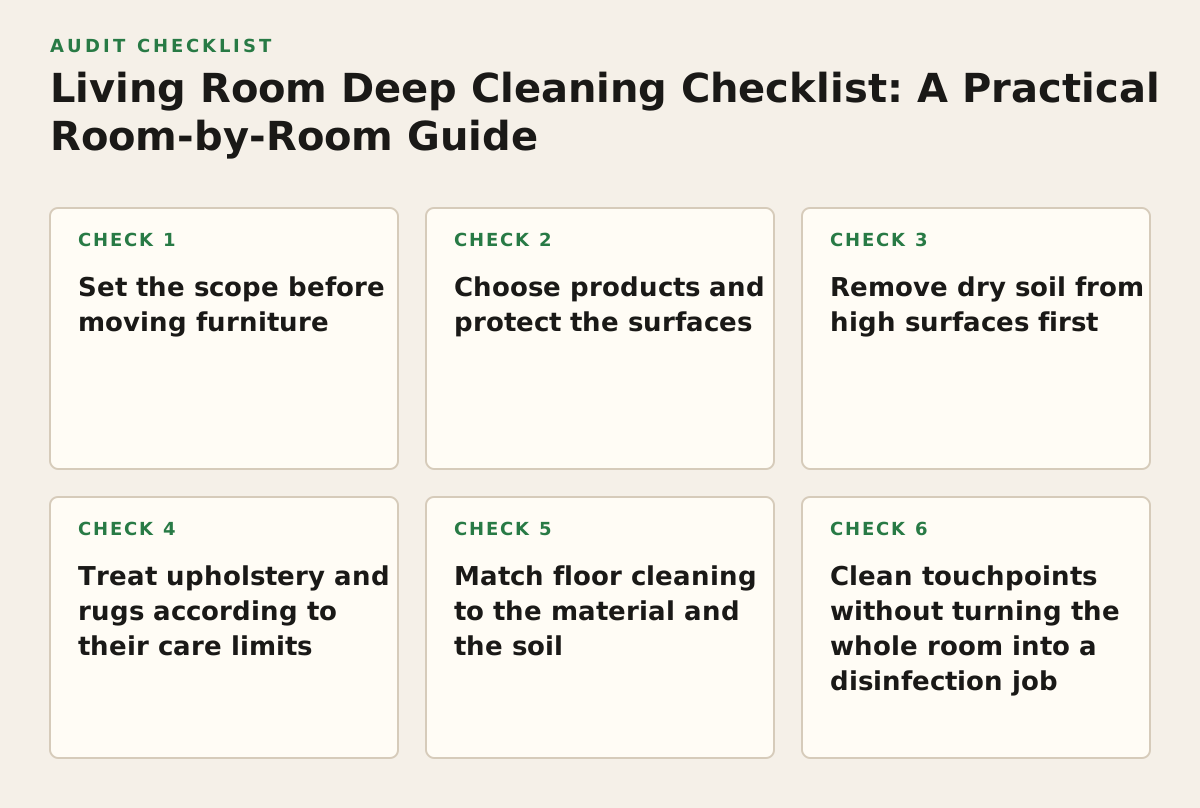
1. Set the scope before moving furniture
When it applies: Use a scope check before a seasonal reset, before guests arrive, or when preparing a Charleston-area home for a tenant or a move. A living room that gets daily use may need attention to seating and traffic lanes; a rarely used formal room may collect dust on trim and décor instead.
Why it works: A deep clean is easier to finish when you distinguish cleaning from repair, decluttering, and specialized treatment. Decide what is in bounds before you pull out furniture or wet a surface. This prevents a common failure: starting a broad “whole room” project, discovering a delicate fabric or heavy item, and leaving the room partly disrupted.
Make a room-specific inventory
Walk the room once with a notepad. Mark each item as a cleaning task, a move-and-clean task, or a stop-and-check task. For example, a sofa cushion cover may have a care label that determines whether it can be washed; a fixed sofa may only allow cleaning the reachable floor around it. Do not assume a surface can tolerate water or a general-purpose cleaner.
- Cleaning: dusting, vacuuming, wiping suitable hard surfaces, and cleaning reachable edges.
- Move-and-clean: lightweight side tables, baskets, and floor lamps that can be moved safely.
- Stop-and-check: unstable furniture, valuable objects, loose paint, unknown upholstery, or visible water damage.
For a move-out, include the room’s fixtures and accessible corners, but check the lease or property handover requirements rather than assuming a deep clean covers repairs or carpet replacement. For an occupied home, keep the scope focused on buildup and the surfaces your household uses.
2. Choose products and protect the surfaces
When it applies: This matters whenever you are switching products, cleaning a new home, or treating a finish you have not cleaned before. Wood, painted trim, stone, glass, and coated electronics do not all respond the same way.
Why it works: A cleaner can remove soil and still damage a finish if it is too abrasive, too wet, or incompatible with the material. Read the product label and the surface maker’s care instructions; test an inconspicuous area and allow it to dry before treating a large visible section. Use the least aggressive method that is appropriate for the soil.
Use a small, controlled kit
- Microfiber cloths for dusting and appropriate hard-surface wiping.
- A vacuum with attachments suitable for the floor, upholstery, and crevices.
- A mild, surface-compatible cleaner, used according to its label.
- A separate cloth for high-touch areas and a bag or basket for items to put away.
For households trying to limit exposure to certain chemicals, EPA’s Safer Choice program identifies products that meet the program’s ingredient and performance criteria. That label does not replace checking whether a product is suitable for a particular surface. A useful example: before cleaning a painted mantel, test the chosen cleaner on a hidden section and use a lightly damp cloth rather than spraying the finish directly.
Failure mode: Mixing products or applying disinfectant where ordinary cleaning is enough can create avoidable risks or leave residue. Keep products in their original containers, follow label directions, and never mix cleaners.
3. Remove dry soil from high surfaces first
When it applies: Prioritize this principle if you see dust on ceiling-fan blades, shelves, frames, lampshades, or the tops of door trim. It is especially useful in rooms with open shelving or décor that traps dust.
Why it works: Dust dislodged from a high surface can settle on furniture and floors. Starting above the floor means you can collect what falls during the same cleaning session instead of redoing finished areas. Use a stable step stool when needed; do not balance on a chair or overreach from a ladder.
Work in zones, not in circles
Choose one wall and move across it from high to low, then continue around the room. Dust reachable fixtures and décor with a suitable cloth or vacuum attachment, taking care around fragile objects and cords. For electronics, follow the manufacturer’s instructions and avoid putting liquid directly on the device. If a fixture is hot, switched on, or difficult to reach safely, leave it until it can be handled appropriately.
- Move small décor to a clear surface and clean beneath it rather than dusting around every object.
- Use a vacuum attachment for fabric lampshades if the maker permits it.
- Dust baseboards and trim as part of the zone, before vacuuming the floor.
Failure mode: A feather duster can scatter dust without collecting it, and repeatedly shifting décor can create more work. Use a method that captures soil and return items only after the surface is clean. For a shelf with many objects, clean one section at a time and keep a quick inventory so pieces return to their places.
4. Treat upholstery and rugs according to their care limits
When it applies: Give this section extra attention when the sofa is used daily, a rug holds crumbs or pet hair, or a room has an old stain or persistent odor. Fabric can conceal debris even when it looks tidy.
Why it works: Vacuuming removes loose soil before it is pressed farther into fabric by wiping or wet treatment. Check care labels first: upholstery codes and manufacturer instructions can limit which cleaners or methods are appropriate. Blot a fresh spill; do not scrub it outward. Scrubbing can spread the stain or roughen the fabric.
Use a staged fabric-care check
- Remove cushions if they are designed to come off, and check beneath them for crumbs or objects.
- Vacuum seams, creases, and the underside of cushions with an appropriate attachment.
- Read the care label before spot-treating. Test an inconspicuous area and let it dry to check for color or texture changes.
- For a rug, vacuum both accessible sides only if its construction and care guidance allow it; avoid aggressive beater-bar use on delicate rugs.
For dust-sensitive households, cleaning soft surfaces regularly may help reduce settled dust, but a room clean is not a substitute for medical advice or a treatment plan. The American Lung Association’s dust mite guidance discusses household steps for reducing exposure; use fabric-specific care directions when applying those ideas to upholstery and rugs.
Failure mode: Saturating a cushion or rug may leave moisture in the backing or padding, where it can dry slowly and develop an odor. If a stain’s source is unknown, the fabric is valuable, or a previous treatment has set the stain, stop before trying stronger chemicals. A professional upholstery or rug cleaner may be the safer option.
5. Match floor cleaning to the material and the soil
When it applies: Use this decision point for every floor type, especially when a living room combines a rug with wood, laminate, tile, or another hard surface. A single wet-mop routine is not suitable for every finish.
Why it works: Dry soil can scratch some finishes when dragged across them, while excess water can damage materials that are not meant to stay wet. Vacuum or sweep first, then use the floor maker’s approved method. Use a damp—not dripping—cloth or mop only where the floor’s care instructions permit it.
| What you see | First response | Pause or change course when |
|---|---|---|
| Loose dust, crumbs, or pet hair | Vacuum or sweep with a floor-appropriate tool before wiping. | The vacuum head may scratch, snag, or pull fibers from the surface. |
| Sticky spot on a hard floor | Check the floor-care instructions; use a compatible cleaner on a cloth or mop. | The finish is unknown, damaged, or reacts during a hidden-area test. |
| Spill on a rug | Blot promptly with a clean, absorbent cloth; follow the rug’s care guidance. | Color transfers, the spot spreads, or the rug is delicate or valuable. |
| Persistent odor or discoloration | Look for a source rather than covering it with fragrance. | There is dampness, recurring odor, or suspected growth beneath the surface. |
Failure mode: Treating every mark as a surface stain can hide a leak or moisture issue. EPA’s guide to mold, moisture, and the home emphasizes addressing moisture problems rather than simply cleaning visible growth. If a rug or floor feels damp or an odor returns after cleaning, investigate the source and seek appropriate help rather than repeatedly wetting the area.
6. Clean touchpoints without turning the whole room into a disinfection job
When it applies: Focus on this step during illness in the household, after a high-use gathering, or when visible grime has built up on remotes, handles, and switches. In ordinary conditions, routine cleaning is usually the relevant starting point.
Why it works: Cleaning removes dirt and many germs from surfaces; disinfecting is a separate step for situations where it is needed. CDC guidance explains when and how to clean and disinfect the home, including following product label directions and using disinfectants appropriately. See the CDC home cleaning and disinfection guidance for current advice.
Start with the surfaces people actually touch: remote controls, door handles, light switches, and table edges. For electronics, follow the device maker’s instructions and do not spray cleaner directly onto the device. If disinfection is warranted, confirm the product is suitable for that surface and observe its label directions, including any required contact time.
Failure mode: Disinfecting every decorative surface can waste time and expose finishes to products they do not tolerate. A better example is to clean a grimy remote with a method approved by its manufacturer, then reserve disinfectant for an appropriate surface and circumstance. Keep children and pets away from products while they are in use and stored.
7. Decide what to do yourself and what to hand off
When it applies: This is useful when time is limited, the room is part of a move, or the work includes heavy furniture, delicate materials, or recurring moisture. The decision is not simply whether you can clean the room; it is whether the required method, access, and time are realistic.
Why it works: A clear boundary prevents a routine room clean from becoming an unsafe furniture-moving job or an improvised stain-treatment experiment. Use the table below as a triage tool, not as a second task list.
- Do it yourself: Accessible dust, loose debris, routine vacuuming, and compatible hard-surface wiping.
- Arrange specialist care: Valuable rugs, delicate upholstery, set stains, or materials with unclear care instructions.
- Investigate before cleaning: Recurring dampness, a musty smell, visible surface changes, or suspected damage under furniture.
- Consider a residential cleaning service: When the room is one part of a larger deep clean, a move-related clean, or a home that needs recurring upkeep.
Failure mode: Outsourcing a visible symptom without explaining the underlying issue can lead to the wrong scope. Tell a cleaner about the stain’s history, the fabric label, access limits, and any moisture concern before booking. A cleaning service can address agreed cleaning tasks; it should not be assumed to repair a leak or restore damaged materials.
For a whole-home reset or a recurring schedule, compare the room’s needs with the scope of house cleaning in Charleston. If built-up soil across several areas calls for more than routine upkeep, review what deep cleaning in Charleston covers before choosing a service.
Put the checklist into action in three passes
Use these passes to manage the work without repeating every room task in a second list. Adjust the order if a product label, delicate material, or safety concern requires it.
- Scope and protect. Identify the floor and fabric types, read care instructions, clear walkways, and set aside fragile or uncertain items. Mark any stain, odor, or moisture concern that needs a separate decision.
- Clean by surface and zone. Work high to low within one area, capture dry soil before using a compatible damp method, and keep products limited to the surfaces they are intended for. Let treated areas dry as directed before replacing items.
- Inspect and assign follow-up. Check the floor edges, seating creases, and touchpoints in good light. Note anything that needs specialist care or investigation; schedule that work rather than escalating to harsher products on the spot.
If the living room is part of a wider home reset, BeeLux Cleaning offers flat-rate residential cleaning, deep cleaning, and move-in or move-out cleaning in Charleston and surrounding Lowcountry communities, with online booking and pricing available before you commit. Review the options at BeeLux Cleaning and choose the scope that fits the home.
Authored with NotFair SEO