
Blog
House Cleaning Checklist: A Room-by-Room Plan for Every Home
A useful house cleaning checklist gives you the room-by-room tasks to do now and a way to decide what can wait. Start with shared surfaces, then work through the kitchen, bathrooms, bedrooms, living areas, and entryways; use the final framework to adjust the list for weekly upkeep, a deeper reset, or a move. For Charleston-area households, that also makes it easier to decide which jobs to keep in the routine and which to hand off to a cleaning service.
Set a route before you start
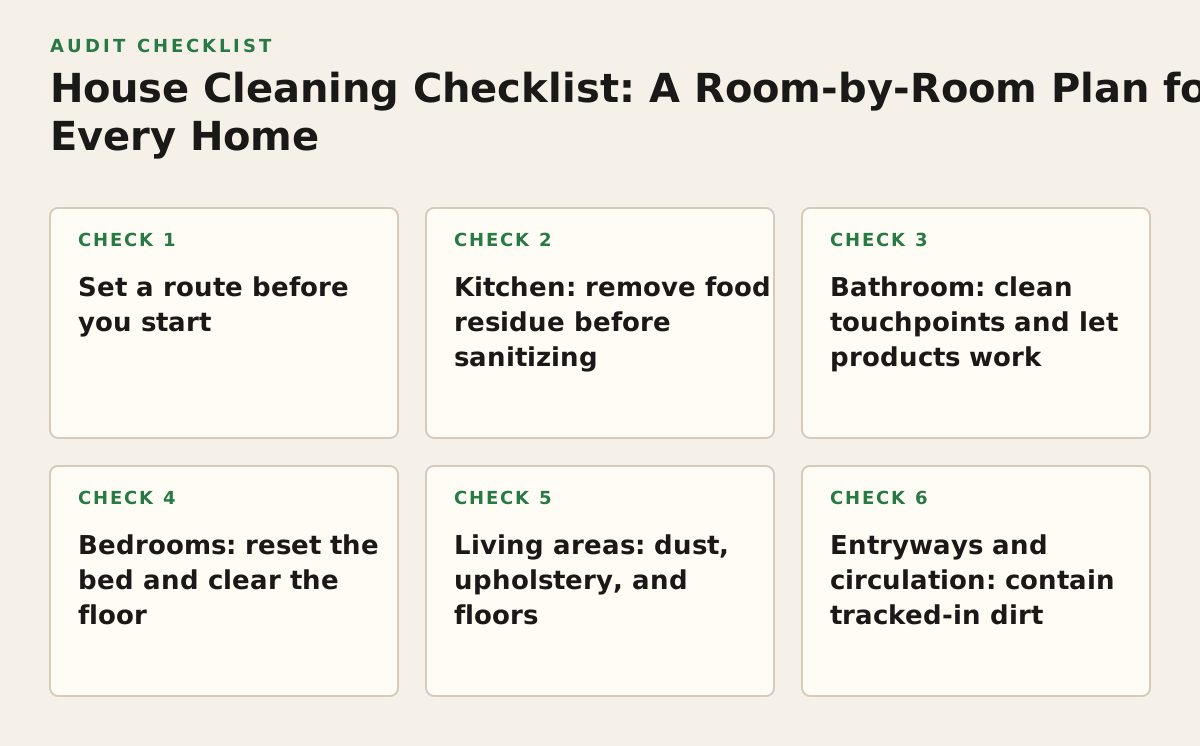
When it applies: Use this setup for any whole-home clean, especially when more than one person is helping or you have a fixed time window. Why it works: A consistent route limits backtracking and helps keep dust from landing on surfaces you have already finished. Common failure: Starting wherever looks dirtiest can leave the rest of the home half done when time runs out.
Prepare the rooms and supplies
- Pick up laundry, dishes, toys, and other items that belong elsewhere before wiping surfaces.
- Gather clean cloths, a duster, a vacuum, a mop, a toilet brush, and the products suited to the surfaces in your home.
- Work from higher surfaces to lower ones, then vacuum or sweep before mopping.
- Move room to room in one direction, carrying a small caddy rather than making repeated trips.
Implementation example: If you have an hour before guests arrive, spend the first few minutes clearing clutter, then clean the bathroom and kitchen, dust and vacuum the main living area, and finish the entry. Save inside-oven work and other detail tasks for a separate session. CDC guidance distinguishes routine cleaning from disinfecting and recommends focusing on frequently touched surfaces; see its home cleaning and disinfecting guidance. In this 2026 checklist, treat disinfecting as a targeted task, not a substitute for removing soil.
Kitchen: remove food residue before sanitizing
When it applies: Include these steps in each regular clean, and repeat the food-contact steps after preparing raw meat, poultry, or seafood. Why it works: Crumbs, grease, and spills attract more mess and can make a surface harder to clean if they are left to build up. Common failure: Spraying a product over crumbs or greasy residue and assuming the surface is clean.
Kitchen checklist
- Clear and wipe counters; clean the backsplash where splashes collect.
- Clean the sink and faucet, including around the drain, then dry the area if water spots are a concern.
- Wipe appliance fronts, handles, and frequently touched cabinet pulls.
- Clean the stovetop and knobs once cool; spot-clean the microwave interior and exterior.
- Check the refrigerator for spills and expired food; wipe its handles and the outside of frequently used appliances.
- Empty the trash and recycling as needed, and wipe the bin lid or rim if soiled.
- Sweep or vacuum the floor, paying attention to the toe-kick area and under the table, then mop.
For food-contact surfaces, follow the product directions and the food-safety steps that apply to the task. USDA FSIS advises washing hands, utensils, and surfaces after contact with raw meat and poultry to help prevent cross-contamination; consult its cleanliness and food-safety guidance. Practical example: After cooking, remove visible food first, wash the counter and cutting board, and use a suitable sanitizer if the situation calls for one. Keep the cutting board for raw food separate from ready-to-eat food while preparing the meal.
Bathroom: clean touchpoints and let products work
When it applies: Use the full list for routine bathroom cleaning; add extra attention to shower buildup when it is visible or the room is due for a deeper clean. Why it works: Cleaning the mirror and fixtures after applying a product to the tub or toilet gives that product time to work while you do another task. Common failure: Wiping a disinfectant off immediately, before its label-required wet contact time.
Bathroom checklist
- Remove used towels and bath mats; put washable items in the laundry.
- Apply the appropriate cleaner to the toilet, sink, and tub or shower surfaces according to the label.
- Clean the mirror and counter, including the faucet base and spots around soap dispensers.
- Scrub the toilet bowl; wipe the seat, lid, base, and flush handle with the right product and a separate cloth.
- Rinse or wipe the tub and shower as directed; remove hair from the drain area and clean visible soap residue.
- Empty the wastebasket, replace the hand towel, and sweep or vacuum before mopping.
Implementation example: Start by applying the tub cleaner, then clean the mirror and sink while you wait. Return to the tub and rinse or wipe it as the label directs. If you choose a disinfectant for a high-touch surface, read its label for the approved surface, directions, and contact time. The EPA’s six steps for safe and effective disinfectant use explain why following those directions matters. Do not mix cleaning products; use ventilation and protective equipment as directed on the product label.
Bedrooms: reset the bed and clear the floor
When it applies: Use this list during routine cleaning, with linen changes on the schedule that suits the household. For a guest-room reset, add fresh bedding and check drawers and surfaces for dust. Why it works: Making the bed and returning items to their homes clears the largest surfaces and makes the remaining cleaning easier. Common failure: Vacuuming around laundry piles, which leaves dust and debris underneath them.
Bedroom checklist
- Strip and replace bedding when it is due; make the bed after the room is dusted.
- Put clothing in drawers, closets, or the laundry basket rather than leaving it on the floor.
- Dust nightstands, dressers, lamps, reachable shelf surfaces, and picture frames.
- Wipe commonly touched handles and switches when needed.
- Check under the bed and around furniture for dust and items that have rolled out of sight.
- Vacuum rugs and floors, including accessible edges; mop hard flooring if appropriate.
Implementation example: In a child’s room, ask the child to put toys in a bin before cleaning begins. That turns “clean the room” into two clear jobs: the occupant handles belongings, and the cleaner can reach surfaces and flooring. If a household has allergies or sensitivities, ask about product preferences and cleaning priorities rather than assuming one routine suits everyone.
Living areas: dust, upholstery, and floors
When it applies: Use this list for family rooms, dining rooms, and other shared spaces. Add a focused upholstery task when crumbs, pet hair, or visible dust accumulate. Why it works: Clearing tables and cushions exposes the surfaces where dust and debris gather. Common failure: Moving objects from one table to another instead of returning them to a designated place.
Living-area checklist
- Return dishes, toys, books, and mail to their proper rooms or storage spots.
- Dust tables, shelves, lamps, picture frames, and reachable ledges.
- Wipe high-touch surfaces such as remote controls, handles, and switches when needed, using a compatible product.
- Straighten cushions and throws; vacuum upholstery only as its care instructions allow.
- Vacuum rugs and floors, including visible edges and under furniture that can be moved safely.
- Clean fingerprints from glass doors or reachable interior windows when they are noticeable.
Implementation example: In an open-plan home, treat the dining table and the main seating area as separate zones even though they share a floor. Clear and dust each zone before vacuuming the continuous floor area. For delicate wood, stone, or electronics, check the manufacturer’s care instructions rather than using a strong all-purpose product on every surface.
Entryways and circulation: contain tracked-in dirt
When it applies: Prioritize entryways, halls, and stair landings in homes with pets, children, frequent visitors, or outdoor work gear. Why it works: Removing grit near the door reduces how far it gets carried into the home. Common failure: Mopping over sand, leaves, or grit, which can spread debris or scratch some finishes.
- Shake out or vacuum the entry mat, and check whether it needs washing.
- Put shoes, bags, umbrellas, and keys in their usual storage spots.
- Wipe the door handle, nearby switch, and other frequently touched spots as needed.
- Dust reachable trim, ledges, and stair rails; wipe marks from doors if the finish permits.
- Sweep or vacuum grit first, then mop hard floors using a product suitable for the flooring.
Implementation example: Place a shoe tray and a small basket near the entrance, then include emptying or straightening them in the weekly reset. In a multi-unit property, use the same entryway sequence for each home but note differences in flooring or storage so a cleaner does not apply the wrong method.
Choose the right version: routine, deep, or move-related
When it applies: Use this decision framework when you are setting a recurring schedule, preparing for a one-time deep clean, or getting a property ready for new occupants. Why it works: A standard room list prevents omissions, while a service-specific add-on list makes the scope clear. Common failure: Treating a maintenance visit, a deep clean, and a move-out clean as interchangeable jobs.
| Situation | Keep on the core list | Add or confirm before the clean |
|---|---|---|
| Recurring maintenance | Kitchen and bathroom surfaces, bedroom and living-area dusting, floors, entryway reset | Household priorities, rooms to skip, pets, access instructions, and any surface-care restrictions |
| One-time deep clean | Core room tasks plus detail work in the rooms that need it | Inside appliances, cabinet interiors, heavy buildup, reachable trim, or other requested tasks; confirm what is included |
| Move-in or move-out | Kitchen, bathroom, floors, and accessible surfaces throughout the property | Whether the home is empty, which interior areas are requested, and any landlord or property-manager requirements |
| Multiple properties | A consistent baseline for every home | Property-specific notes, access arrangements, occupancy status, and differences in finishes or priorities |
Implementation example: A household booking recurring cleaning might keep the kitchen, bathrooms, floors, and shared areas in the regular scope, then schedule oven or cabinet-interior work separately when needed. Someone preparing to leave a rental should compare the requested service scope with the lease or move-out instructions; do not assume that a general clean includes every inside surface. For local recurring service, compare your list with what is offered for house cleaning in Charleston. If the home needs more detailed buildup removal, review the scope for deep cleaning in Charleston and confirm the requested tasks before booking.
Put the checklist into a workable sequence
When it applies: Use this plan to turn the room lists into a repeatable household routine or a clear service request. Why it works: Assigning priorities and confirming scope in advance reduces last-minute decisions. Common failure: Trying to complete every possible task in one session without deciding what matters most.
- Choose the goal. Decide whether the visit is routine upkeep, a deeper reset, or a move-related clean. Write down the outcome you need, such as clean bathrooms and floors before guests arrive.
- Walk the home. Note rooms, flooring types, delicate surfaces, visible buildup, and tasks that require access to cabinets or appliances.
- Set priorities. Mark each task as essential, useful if time allows, or a separate project. As an illustrative starting policy, handle hygiene-related and visible soil first, then add detail work only if time and scope allow.
- Prepare the space. Put away belongings, secure pets as appropriate, and leave clear notes about products or surfaces that need special care.
- Clean in a consistent order. Work from high to low and from the farthest room toward the exit; finish floors after dusting and wiping.
- Check the result against the list. Review the rooms and agreed add-ons, then move unfinished tasks to the next session rather than quietly dropping them from the routine.
For a Charleston home that needs recurring upkeep, deep cleaning, or move-in or move-out service, BeeLux Cleaning offers flat-rate residential cleaning with online booking and pricing before you commit. Review the options at BeeLux Cleaning and use your room-by-room priorities to choose a service scope that fits the property.
Authored with NotFair SEO