
Blog
Home Deep Cleaning Checklist: A Practical Room-by-Room Reset
A home deep cleaning checklist helps you decide what to clean beyond everyday tidying: set the scope, check product and surface instructions, work through rooms from high to low, and finish each room’s floor last. Use the steps below to prioritize visible buildup and less-accessible areas, whether you are preparing for a move, resetting a lived-in home, or identifying tasks for recurring cleaning. The checklist is a planning tool, not a fixed definition of “deep clean”; the right scope depends on the property’s condition and your priorities.
1. Define the scope before choosing tasks
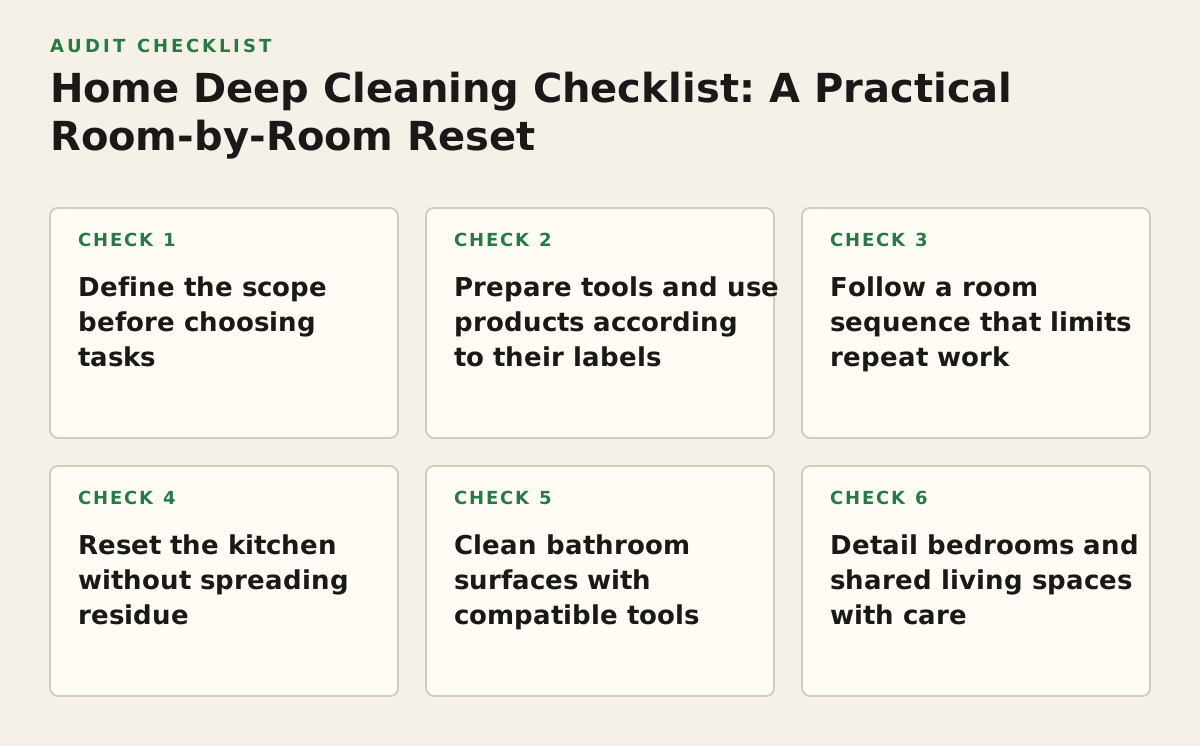
This step matters when time is limited, several people are sharing the work, or you are preparing a home for a handover. Without a scope, it is easy to spend time on small, satisfying jobs while a grimy sink, dusty fan, or heavily used bathroom remains unfinished. Walk through first and note what needs attention; then decide what must be done now and what can wait.
Sort tasks by condition and consequence
- Priority: visible soil, food residue, bathroom buildup, or another issue that affects the purpose of the clean.
- Optional detail: less urgent jobs, such as cleaning the inside of an already organized cabinet.
- Verify first: unfamiliar, delicate, damaged, or specialty surfaces and appliance parts.
Why it works: a written list makes trade-offs explicit before you begin. Failure mode: starting with a closet or another low-priority area, then running out of time for a kitchen or bathroom. For example, if guests are arriving, put the bathroom, kitchen sink and counters, and visible dust in shared rooms ahead of a shelf that guests will not use.
For a move-out clean, add the areas that will be easier to reach once belongings are removed, such as accessible floor edges or empty cabinet interiors. For a home that will continue to be occupied, prioritize the rooms and surfaces that need the reset most. Do not assume a checklist for one property or household automatically covers another: note extra rooms, access limitations, and surfaces that need special care.
2. Prepare tools and use products according to their labels
Preparation is useful whenever tools and products will move between rooms. It reduces interruptions and helps you avoid using a bathroom cloth on a food-preparation surface. Gather supplies for the tasks on your list, but do not assume one cleaner, scrubber, or method suits every material.
Make a simple room-based kit
- Washable cloths, kept separate by room or task.
- A vacuum with suitable attachments, a mop, and non-scratch scrubbers appropriate for the surfaces involved.
- Bags for rubbish and laundry, plus gloves if the product label or task calls for them.
- Only the products needed for the planned work, kept in their original containers with labels available.
Read labels for intended use, application directions, and precautions. If disinfecting is appropriate, use a product labeled for the intended surface and follow its instructions, including how long the surface must remain wet. The EPA’s steps for safe and effective disinfectant use explain why following those directions matters. Cleaning and disinfecting are different steps: routine cleaning removes soil; disinfecting uses a product to address germs under its label directions.
Why it works: choosing the method before applying a product can prevent exposure and surface damage. Failure mode: using a strong cleaner everywhere or transferring products into unmarked bottles. For instance, keep a cloth for food-preparation areas apart from bathroom tools, and check a counter’s care instructions before applying a product to it.
Do not mix cleaning products. Use ventilation and protective equipment as directed on the label; OSHA’s guidance on cleaning chemicals describes potential health hazards and the importance of following safe-use information. Keep products away from children and store them as directed. If a product is swallowed or causes a concerning exposure, contact a poison center or emergency services as appropriate; MedlinePlus’s household products poisoning information provides general guidance about household-product exposures.
3. Follow a room sequence that limits repeat work
Working from high to low is useful in rooms where dust collects on fans, shelves, trim, or furniture. Loose dust and crumbs can fall onto surfaces below, so handle higher areas before counters and floors. Keep the sequence flexible when a product label or a surface’s care instructions require a different method.
Use this pass order
- Remove rubbish, laundry, and items that belong elsewhere.
- Dust reachable high surfaces, shelves, and furniture. Use a stable step stool only if safe, and do not overreach.
- Wipe appropriate handles, switches, and other touchpoints, taking care around electrical fixtures and delicate finishes.
- Clean room-specific surfaces using suitable products and directions.
- Vacuum or sweep, then mop suitable hard flooring last.
Why it works: the order follows where falling dust and debris are likely to land. Failure mode: mopping first, then dropping crumbs onto the clean floor while wiping shelves. For a living room, dust a reachable fan and shelves, wipe tables and suitable touchpoints, vacuum upholstery only as its care instructions allow, and finish with the floor.
Do not turn this sequence into a reason to reach unsafely or wet a surface that should be kept dry. If a fixture is difficult to access, a finish is unfamiliar, or a task needs more than one person to move something safely, leave it for an appropriate method or assistance rather than forcing the job.
4. Reset the kitchen without spreading residue
A kitchen benefits from a deliberate pass because crumbs, grease, and food residue collect in different places. This is especially relevant after heavy cooking, before a move-in, or when you are trying to identify what a recurring cleaning routine should cover. Work from cleared surfaces toward the floor, and use products compatible with the material being cleaned.
Kitchen checklist
- Clear counters, remove rubbish, and return stored items to their places.
- Wipe cabinet fronts, handles, and backsplash with a method suited to the finish.
- Clean the sink and tap; use a cloth reserved for food-preparation areas on counters.
- Clean the stovetop and accessible range hood exterior. Check the appliance manual before removing parts or cleaning inside.
- Wipe appliance exteriors; clean refrigerator or dishwasher interiors only when needed and according to the manufacturer’s instructions.
- Clean table and chair surfaces, then sweep or vacuum and mop the floor if its material allows.
Why it works: clearing the counter reveals crumbs and allows you to clean the full surface before putting items back. Failure mode: wiping around appliances and clutter, then returning to discover the covered areas were missed. For example, move small countertop items to a safe temporary spot, clean the exposed area, and return only what belongs there.
“Deep clean” does not mean dismantling appliances. Follow the appliance maker’s directions before applying a product inside an oven or refrigerator or removing a component. If the instructions are unavailable and you are uncertain about a material or part, limit the task to accessible areas you can clean safely.
5. Clean bathroom surfaces with compatible tools
Bathrooms often need attention to soap residue, water marks, hair, and touchpoints. The method depends on the surface: an abrasive pad or unsuitable cleaner may damage a finish even if it removes buildup. This section applies to a household reset and to a move-out clean, where a quick wipe of the sink may leave residue around fixtures or in the shower.
Bathroom checklist
- Remove used towels, rubbish, and items from the counter and shower area.
- Dust reachable shelves and fixtures where safe, then clean mirrors and suitable counter surfaces.
- Clean the shower or tub and fixtures with a product compatible with the surface.
- Clean the sink and tap, then the toilet, using separate cloths or tools for these tasks.
- Wipe appropriate handles and switches, replace towels if needed, and clean the floor last.
Why it works: separating tools for different sanitary areas helps avoid carrying residue between tasks, while checking surface instructions reduces the chance of scratches or finish damage. Failure mode: reaching for the harshest product or an abrasive pad without checking the surface. If a shower has an unfamiliar finish, check its care instructions before scrubbing instead of testing an aggressive product in a visible area.
Disinfection is not automatically necessary after every clean. The CDC says that, in most situations, cleaning with soap or detergent is enough; disinfection may be appropriate in specific circumstances, including when someone is sick. See CDC guidance on when and how to clean and disinfect a home. If disinfecting, follow the product label for the intended surface and required contact time.
6. Detail bedrooms and shared living spaces with care
These rooms can look tidy while dust remains on ledges, furniture, fan blades, or accessible areas beneath lightweight items. A deeper pass can help before guests, during a seasonal reset, or when you are deciding which details to include in recurring cleaning. Focus on reachable areas and check textile and surface-care instructions before using water or a product.
Room-by-room detail list
- Bedrooms: change or launder bedding as appropriate, dust reachable furniture and ledges, wipe suitable handles, and vacuum around accessible furniture.
- Living rooms: dust shelves and tables, wipe suitable touchpoints, and vacuum upholstery only as its care instructions allow.
- Both: remove cobwebs where safely reachable and clean visible wall marks only with a method compatible with the finish.
Why it works: checking edges and moving lightweight items reveals dirt that a quick pass through the center of the floor can miss. Failure mode: moving heavy or unstable furniture without help, or applying an unsuitable cleaner to a wall. Move a lightweight side table to vacuum underneath; leave a heavy piece in place unless you can move it safely.
Textiles need individual care. Check labels before washing bedding, curtains, removable upholstery covers, or rugs, since a method that suits one fabric may damage another. If a stain or delicate material is the main issue, follow the maker’s care instructions or consult an appropriate specialist instead of repeatedly applying stronger products.
7. Prioritize floors and finishing details
Floors come last in each room, but the appropriate method varies by material. This framework is useful when time is limited: it separates the floor work needed for normal use from targeted detail work and optional tasks. Check the flooring care instructions before using water or a cleaner.
| Priority | Use it when | Example action | Pause when |
|---|---|---|---|
| Essential | Visible dirt or debris affects normal use. | Vacuum or sweep after dusting and surface work. | You have not confirmed the method suits the floor. |
| Targeted | A particular area has buildup or a noticeable mark. | Clean the spot using the flooring maker’s guidance. | The mark’s cause is unknown or may be a finish defect. |
| Optional detail | Higher-priority rooms are complete and time remains. | Move a safe, lightweight item to clean beneath it. | The item is heavy, unstable, or may damage the floor. |
Why it works: ranking tasks makes it easier to finish necessary work before optional details. Failure mode: using excess water or an aggressive product on flooring without checking its care requirements. As an illustrative starting policy, complete the essential floor pass in priority rooms before choosing one targeted detail task; adjust the order to the home’s condition and your available time.
Before leaving a room, look for missed debris at edges, damp spots that need attention, and supplies left out. Do not repeat a wet pass just to make a floor look shinier; follow the flooring guidance and the product label.
8. Turn the checklist into a workable plan
Use this sequence for a one-time reset, a move, or planning tasks for future recurring cleaning. For multiple homes or a larger property, make a separate list for each one so the scope and completed rooms are clear.
- Walk the property: list rooms and note visible buildup, access limits, and tasks that need attention.
- Rank the work: mark tasks as priority, optional, or verify first. Put the purpose of the clean—such as move-out preparation or a lived-in reset—at the top of the list.
- Check constraints: identify delicate finishes, appliance instructions, and jobs that should not be attempted without help.
- Prepare supplies: gather suitable tools, separate cloths by use, and read labels before applying products.
- Work room by room: clear items, clean high to low, handle room-specific surfaces, and finish the floor.
- Reassess: compare completed work with the original priorities. Move unfinished optional tasks to a later list rather than letting them displace essential work elsewhere.
- Set the next scope: note which tasks you want handled regularly and which are occasional details, then use that list when planning the next reset or service.
If you would rather outsource some or all of the work, BeeLux Cleaning provides flat-rate residential house cleaning, deep cleaning, and move-in or move-out cleaning in Charleston and surrounding Lowcountry communities; customers can book online, see pricing before committing, and choose one-time or recurring service. Compare the scope you need with the details on the pages for house cleaning in Charleston and deep cleaning in Charleston, then visit BeeLux Cleaning to review its options.
Authored with NotFair SEO