
Blog
Charleston Move-out Cleaning Lease Handover: A Step-by-Step Guide
For charleston move-out cleaning lease handover, use your lease and written move-out instructions to set the cleaning scope, document the home’s condition, and confirm how to return the keys. This process gives Charleston renters and homeowners a practical room-by-room plan and a clear record of the handoff; it does not promise a particular security-deposit outcome.
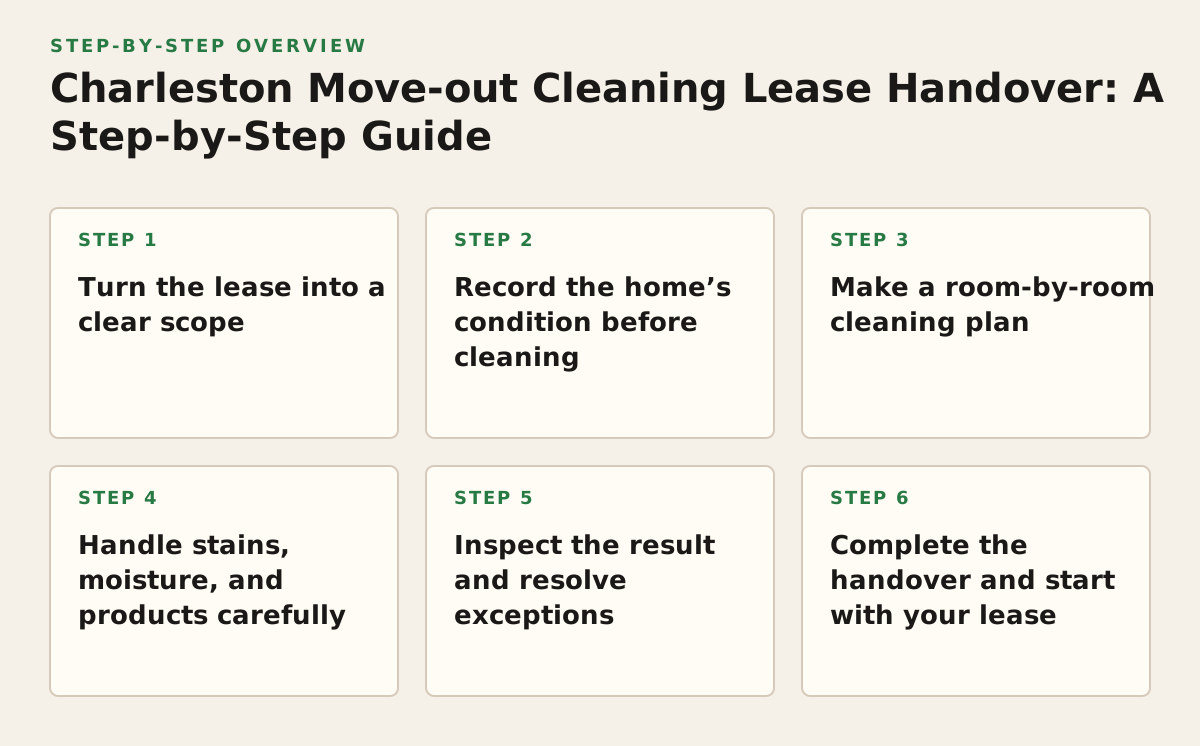
Step 1: Turn the lease into a clear scope
Gather the signed lease, move-in condition report, addenda, and any written instructions from the landlord or property manager. Look for specific requirements: removing belongings, cleaning appliance interiors, disposing of rubbish, or returning keys and other access devices. Use the written requirements as your baseline; a generic checklist can help you inspect, but it cannot replace the terms of your agreement.
If a phrase such as “professionally cleaned” or “leave the oven clean” is unclear, ask what result is expected and whether documentation is required. Keep the question and reply in writing. Don’t assume that a particular vendor, method, or charge is required unless the lease or manager confirms it.
Separate cleaning tasks from repair concerns
Make two lists: work you can reasonably complete, and existing damage or maintenance issues to report. A water mark, loose fixture, or carpet stain may need to be documented or discussed rather than treated with a stronger cleaner. South Carolina’s Residential Landlord and Tenant Act addresses security-deposit accounting, including itemized deductions and timing requirements subject to the statute’s conditions and exceptions; consult the state law for the details that apply. Cleaning work and deposit entitlement are separate questions, so don’t treat a cleaning checklist as a promise of a refund.
Step 2: Record the home’s condition before cleaning
Before moving boxes or scrubbing, walk through the home with the move-in report beside you. Photograph the same areas recorded at move-in, plus any existing marks or damage that could be mistaken for new. Take a wide view to show where an issue is and a closer view to show its detail. Keep original files and avoid edits that could obscure what they show.
Label images by room and subject—for example, “kitchen, oven interior, before cleaning.” A group of unlabeled close-ups is harder to interpret later. Include fixed features such as floors, walls, counters, and appliances, and choose angles that show the condition rather than hiding it.
- Save the move-in report and relevant lease pages with your handover records.
- Photograph existing damage before cleaning or moving items over it.
- Keep receipts or written confirmations for agreed work or disposal.
- Save messages that clarify the manager’s instructions.
Preserve the before-and-after context: if a mark remains after reasonable cleaning, the original image helps show its earlier condition. Photos can support a clear discussion, but they do not establish by themselves who is responsible for a repair.
Step 3: Make a room-by-room cleaning plan
Translate each written requirement into an observable task. “Remove loose crumbs from the drawer” is easier to complete and check than “make the kitchen perfect.” Start at the top of a room and work down, then clean the floor after dust and debris have fallen. That order reduces the chance of redoing finished work.
| Area | Check and clean | Pause and verify if… |
|---|---|---|
| Kitchen | Wipe accessible counters, cabinet fronts, and sink; clean appliance interiors when required. | An appliance is damaged, disconnected, or the instructions call for a special service. |
| Bathroom | Clean accessible fixtures, mirrors, counters, drawers, and cabinets. | You see persistent moisture, suspected mold, or a surface that may be harmed by scrubbing. |
| Bedrooms and living areas | Remove belongings and rubbish; dust accessible surfaces and clean floors according to their material. | A mark may be permanent damage rather than removable soil. |
| Entry and storage | Check closets, shelves, and storage spaces included with the rental. | You are unsure which items or spaces belong to the property. |
Cleaning and disinfecting are not identical tasks. The CDC explains that cleaning removes dirt and many germs, while disinfecting uses products to kill germs; choose the method that fits the task and follow product directions rather than disinfecting every surface by default. See the CDC’s home cleaning guidance. Match the method to the surface, and test an inconspicuous spot if you are unsure how a finish will respond.
Choose a realistic sequence
For an empty home, clean rooms in a consistent order so you can track what is complete and avoid walking dirt back into finished spaces. Keep the checklist with you and mark a task only after checking the result. If you are sharing the work, assign rooms or tasks clearly; an unassigned “final clean” can leave missed cupboards or floors.
- Remove belongings and rubbish before cleaning surfaces.
- Clean high surfaces and fixtures before floors.
- Check inside accessible cupboards, drawers, and appliances named in the instructions.
- Mark exceptions separately instead of silently skipping them.
Step 4: Handle stains, moisture, and products carefully
Don’t treat every stubborn mark as a reason to use a stronger chemical. Identify the surface and likely cause, read the product label, and follow any property instructions. Never mix cleaning products. If a task calls for unfamiliar equipment or a chemical you do not understand, stop and check the directions rather than risking damage or unsafe fumes.
For suspected mold or recurring dampness, wiping visible growth may not address the moisture source. The EPA emphasizes moisture control in mold cleanup and outlines circumstances that call for additional care; review its mold cleanup recommendations. Report a persistent leak or widespread problem to the landlord rather than treating it as routine move-out cleaning.
If you need to select a household product, EPA’s Safer Choice program identifies products meeting its ingredient and performance criteria. The label does not replace checking whether a product is appropriate for a particular surface. Stop when the job becomes repair, remediation, or a safety concern; cleaning harder can make the condition worse.
Step 5: Inspect the result and resolve exceptions
After cleaning and removing your belongings, do a final walk-through using the same checklist. Open accessible cupboards and drawers, inspect appliance interiors covered by the lease, and look at floor areas that were under furniture. If something is incomplete, decide whether you can safely finish it or need the manager to clarify the expectation.
Worked example: a mark that remains in the oven
Suppose the lease says the oven must be clean but does not specify professional service. Photograph the oven before starting, check the appliance and cleaner directions, and remove loose residue without scraping the finish. Take an after-photo. If the baked-on mark remains, send the manager both images and ask whether any further action is expected. This documents what you did without claiming the oven is damaged or risking damage with an unsuitable tool.
Record what remains and why, rather than implying that an unresolved issue has been fixed. If the manager gives new instructions, save them and decide whether you can carry them out safely. A clear exception is easier to address than a task that appears to have been overlooked.
Step 6: Complete the handover and start with your lease
Send a concise message saying the home is empty, noting any agreed exceptions, and asking the manager to confirm receipt of keys or access devices. Attach only useful, clearly labeled photos or offer to provide the organized set. Keep a copy of the message, checklist, and replies with your lease records.
For example: “The home is empty, and I completed the attached checklist. I’ve included photos of the kitchen and the bathroom mark previously reported. Please confirm receipt of the keys and let me know if you need anything else.” Keep the wording factual; don’t claim that the home meets a legal standard or that a deposit must be returned unless you have a basis for that claim.
- Confirm the accepted return method for keys, fobs, and other access items.
- Keep written confirmation that the items were handed over or placed as instructed.
- Save the final photos and handover message with your other records.
First, open your lease and move-in condition report side by side, then list each cleaning requirement and anything that needs clarification. If you want help with the cleaning itself, BeeLux Cleaning provides flat-rate residential, deep, and move-in or move-out cleaning in Charleston and surrounding Lowcountry communities, with online booking and pricing before commitment; review the options at BeeLux Cleaning. For routine upkeep or a more intensive one-time clean, see house cleaning in Charleston and deep cleaning in Charleston.
Authored with NotFair SEO